
 |
The first thing I did was get out my graph paper, pencil and ruler. When I decided on a modified drunkards path I got out the template plastic and traced around the pieces and then added a 1/4 on all sides for seam allowances.


I marked centre positions to help later in lining up the curved edges. I did come into a little trouble with the marks but I worked it out.

The picture above I have included the finished sizes of all the pieces. When I made my templates a 1/2 inch was add to all these measurements.
Next I took my handy Masking Tape. I put two small rolled pieces on the back of my templates to hold them in place on the fabric.

Next I used my rotary cutter and rulers to cut as much of the piece as I could - be careful not to cut your template. After cutting that way I used my marking pencil to mark the curved edge (I used the bottom of my Extra Large Tim Hortons Cup for the curve shape). I then removed the template from the fabric and cut the curve with my fabric scissors.

Make 4 of piece A and four of piece B. I off set these blocks with a 2 inch (1 1/2 inch finished) solid white square in the center of the blocks.

For the next step get out your pins! I know there are some people out there with crazy mad skills that can sew a curve without pins but not me. I pin at the start and end of the piece. Then I head to the curve. I pin at the center point and at the beginning and end of the curve at fill in pins as needed to keep the piece even and smooth. When placing your pins put them in at the 1/4 inch seam line, this will help give you a true look at keeping the line smooth and without puckered.

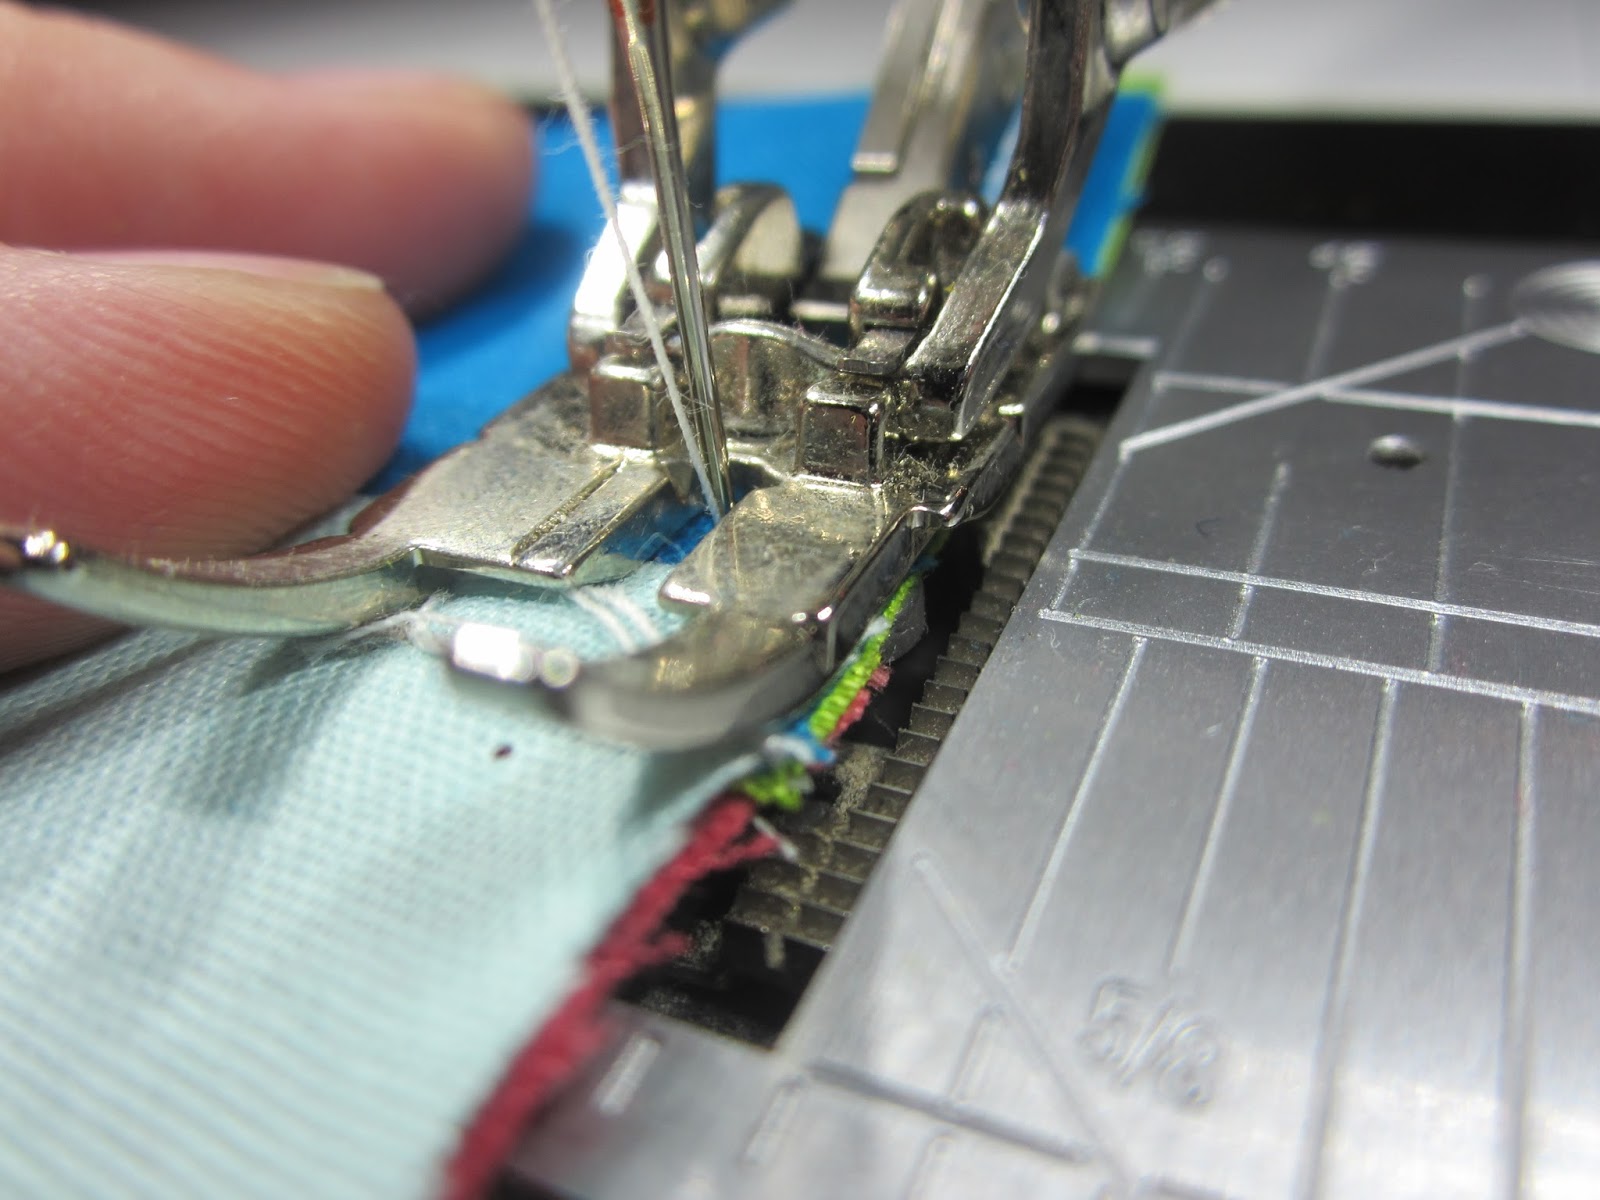
Sewing around the curves can be tricky. I sew right up to the pins and then remove just before sewing that spot. Take your time around the curves.

Sew all the units together and press toward piece A. If you need to, trim the rectangles to 7 1/4 inch by 5 3/4 inch. Sew the center white square to the center edge of one of the units stop a 1/4 inch from the interior side. Once this is done take the opposite colour unit and place it along the side with the center square. Keep adding the pieces in a round the center square. The final piece will then take in the 1/4 inch left loose on the center square.

I usually piece and press making seams go opposite ways to get them to line up nicely. However with this I wanted the seams to play a part in the quilting effect later so all seams were pressed in one direction. A trick I learned a few months back from Patti Carey was to pin them as if they are opposites and then just before you sew that area flip the seam back the way it was pressed.

When you have finished putting all the units around the centre square give them a press in the order you added them. The seams will lay nice and flat and your block is finished.

I call my block Watermelon Slice!

My husband thinks it looks like a T.V. from the 70's.
Thank you for stopping by my blog. Don't forget to stop by the other blogs posting today and all this week. Each host of the hop is doing a give away sponsored by Fabri-Quilt so don't forget to stop by all the amazing blogs participating in this fun event.
After all the blocks are created they are going to be made into quilts for charity. I am so happy to have been part of this fun project. Here is a list of all the members of my posting day!
My host Cheryl @Meadow Mist Designs
Colleen@Colleen's Custom Quilting
Josi@Avocado Quilts
Cindy @Sewing Moxie
Stephanie@Quiltn Party
Cristy@I Love You Sew
Sarah@Sarah Goer Quilts
Jayne@Twiggy & Opal
Sharla@Thistle Thicket Studio
Julie@Pink Doxies
Sarah@123 Quilt
Deanna@Stitches Quilting
Carrie@The Zen Quilter
Thank you Fabri-Quilt for sponsoring this block hop!
Post again soon.